Products You May Like
Building a bigger butt has definitely become a trend, and as a trainer, I’m not entirely opposed to it. That’s because consistently doing exercises focusing on the glute muscles will strengthen and activate those muscles, which overall is a great thing. When your glute muscles are firing properly (which is what it means to have “active” glutes), your athletic performance benefits, you’re less likely to experience dormant butt syndrome (a common cause of back and knee pain), and you’re generally better able to move your body without pain.
If any of those perks interest you, the humble glute bridge is a must. Research has shown that strength exercises where you bend at only the hip are more effective at targeting the glutes than exercises where you bend at the hip and knee. That makes glute bridges better for engaging your glutes than movements like squats or lunges — and when you make it a weighted glute bridge, you can build some serious muscle.
That’s just one advantage of this move, though. In addition to strengthening your glutes, the glute bridge also engages your hamstrings and your deep core muscles, so it’s useful for building core stability as well, per the National Academy of Sports Medicine (NASM).
Here’s your primer on glute bridges — weighted and otherwise — including the difference between a hip thrust and a glute bridge, how to do a glute bridge step by step, and form tips to keep in mind.
Weighted Glute Bridge vs. Hip Thrust
Before we get into it, it’s important to know the difference between a weighted glute bridge and another similar exercise: the hip thrust, which is commonly done with a barbell. You’ve probably seen that exercise all over your Instagram or TikTok feeds, thanks to fitness influencers and celebrities (including Brie Larson, who’s shown off a barbell hip thrust lifting 275 pounds, for example).
The hip-thrust movement is similar to a glute bridge, but instead of resting your back on the floor, you brace it against something one to two feet off the ground, such as a workout bench. By elevating your torso, there’s a greater range of motion involved in the hip thrust, resulting in a more significant stretch of the glutes, per NASM. Overall, this makes the hip thrust a bit more challenging than the glute bridge.
While hip thrusts are commonly performed with a barbell, you can also do this move with your bodyweight or using a resistance band or dumbbell. Worth noting: when done with a barbell, the hip thrust is not suitable for beginners, since it’s an advanced lift. Instead, start with bodyweight hip thrusts and glute bridges to get comfortable with the movement pattern. Then, slowly add weight to build strength.
POPSUGAR Photography / Tamara Pridgett
How to Do a Weighted Glute Bridge
First things first: if you aren’t comfortable doing bodyweight glute bridges, work on mastering those. You can follow the same steps below, just without a weight. Once you can do three sets of 12 reps comfortably and with more energy left in the tank, you can try adding weight. Bodyweight exercises are still great at building strength, so don’t rush through that step of the process — especially when you’re new to exercise.
To do this move, you’ll need a medium to heavy dumbbell, from 8 to 20 pounds. (Here’s more on how to choose the right weight.) Or, you can use just your bodyweight. Try implementing the glute bridge exercise into your workout routine two to three times a week.
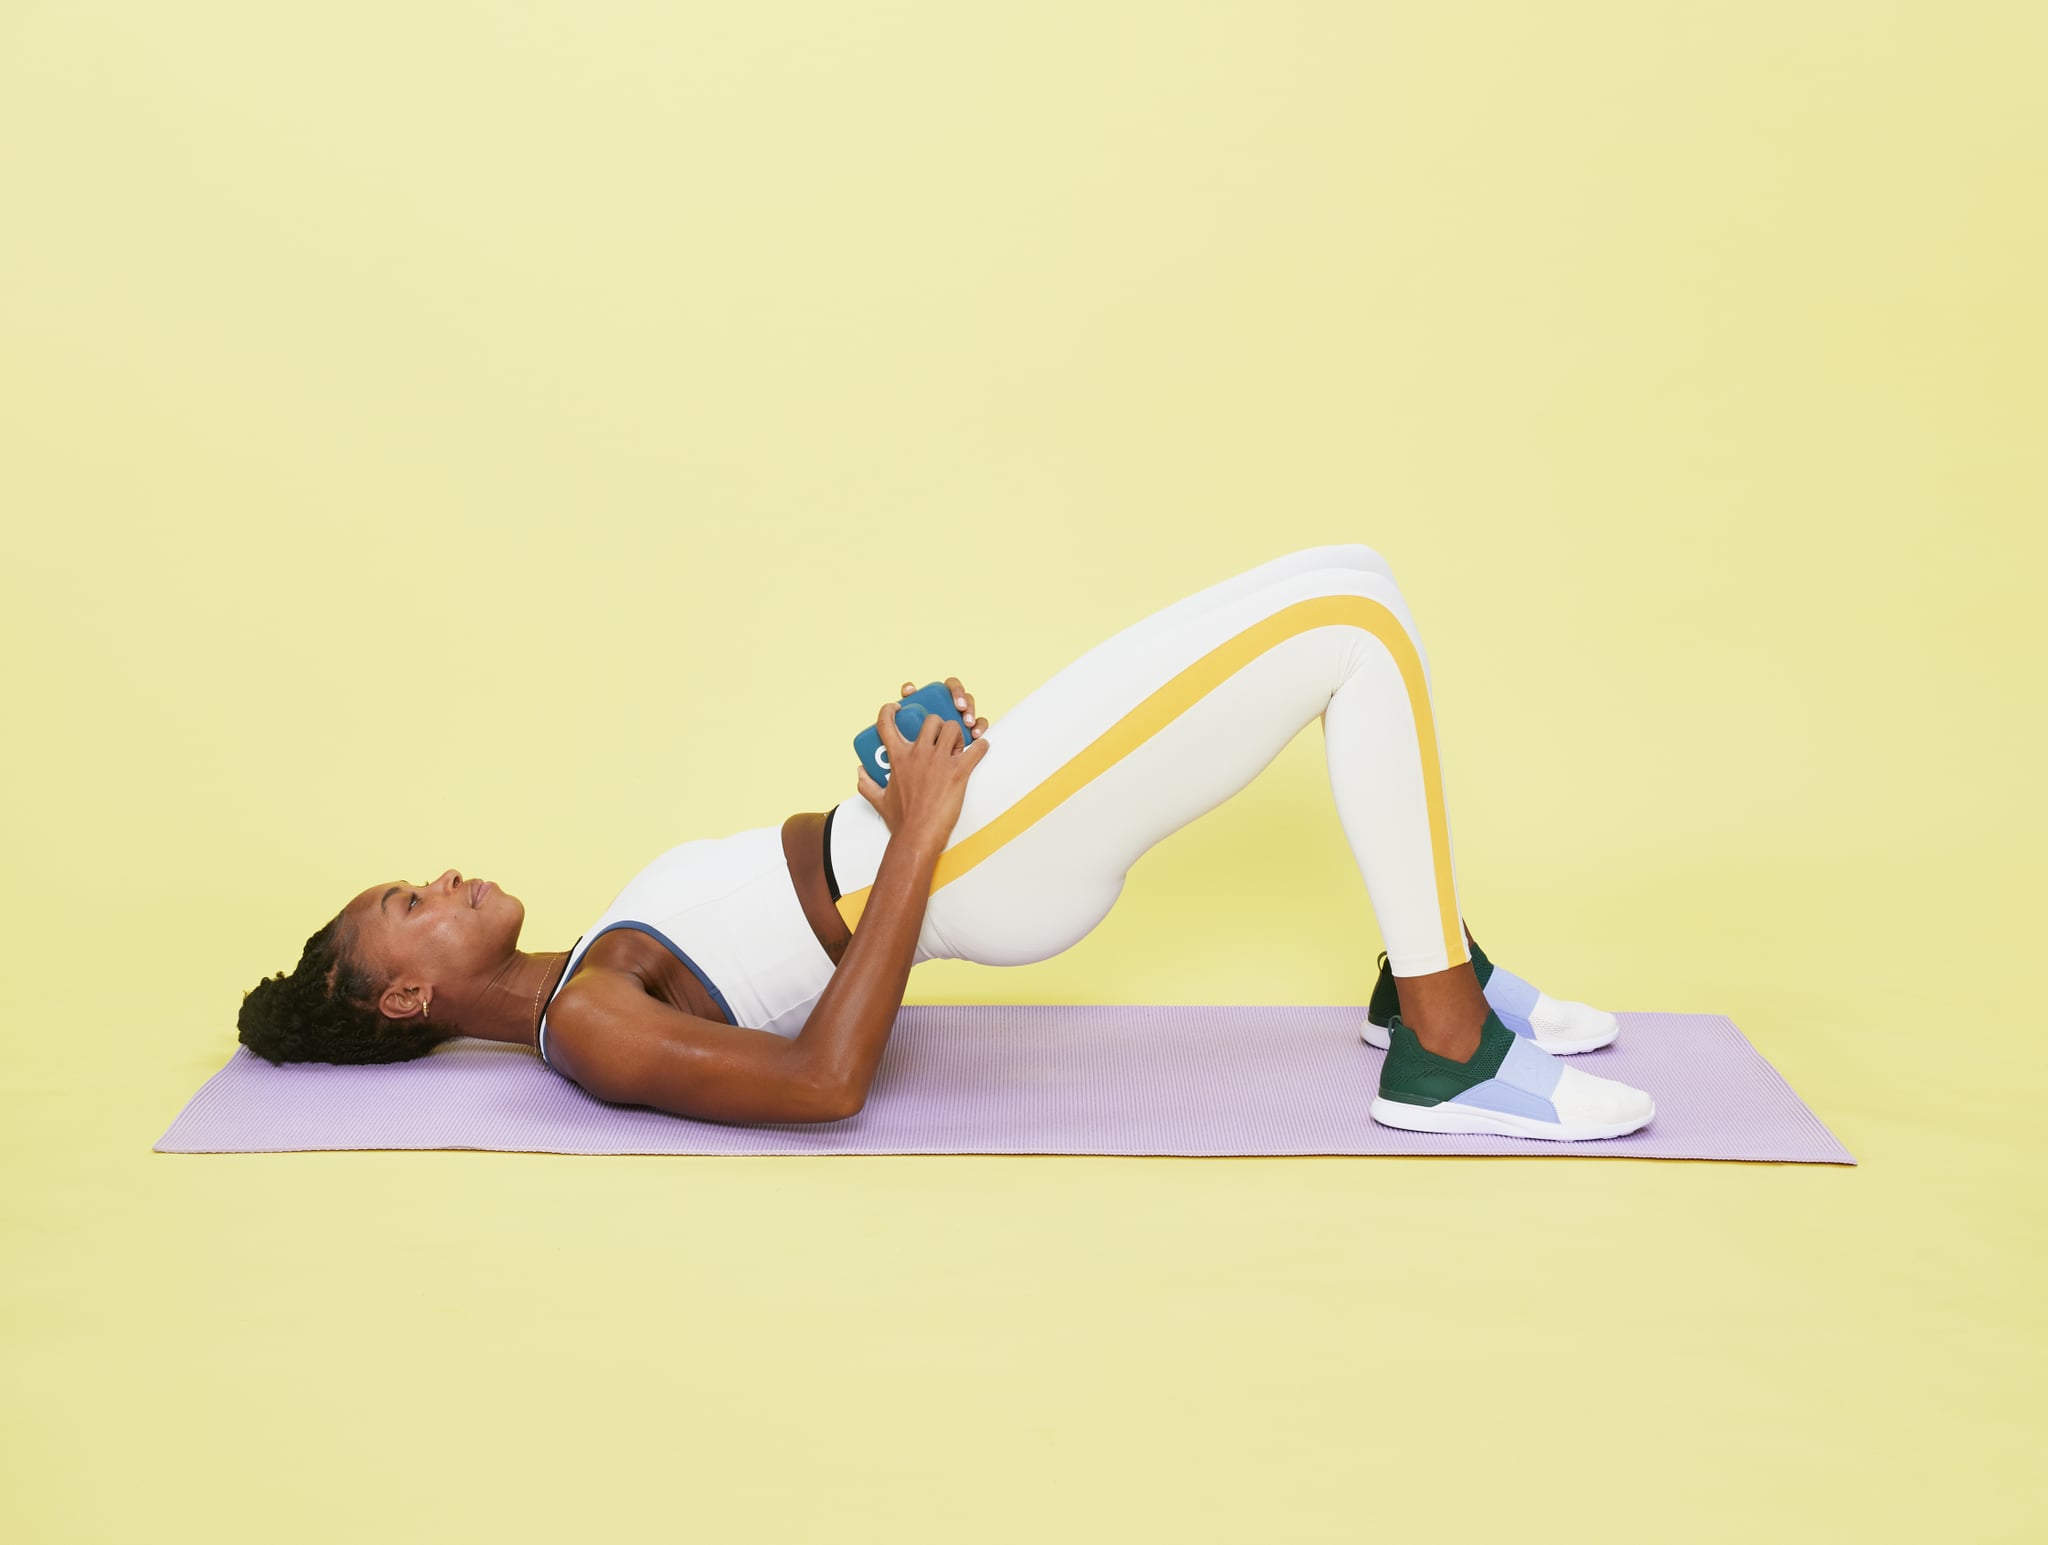
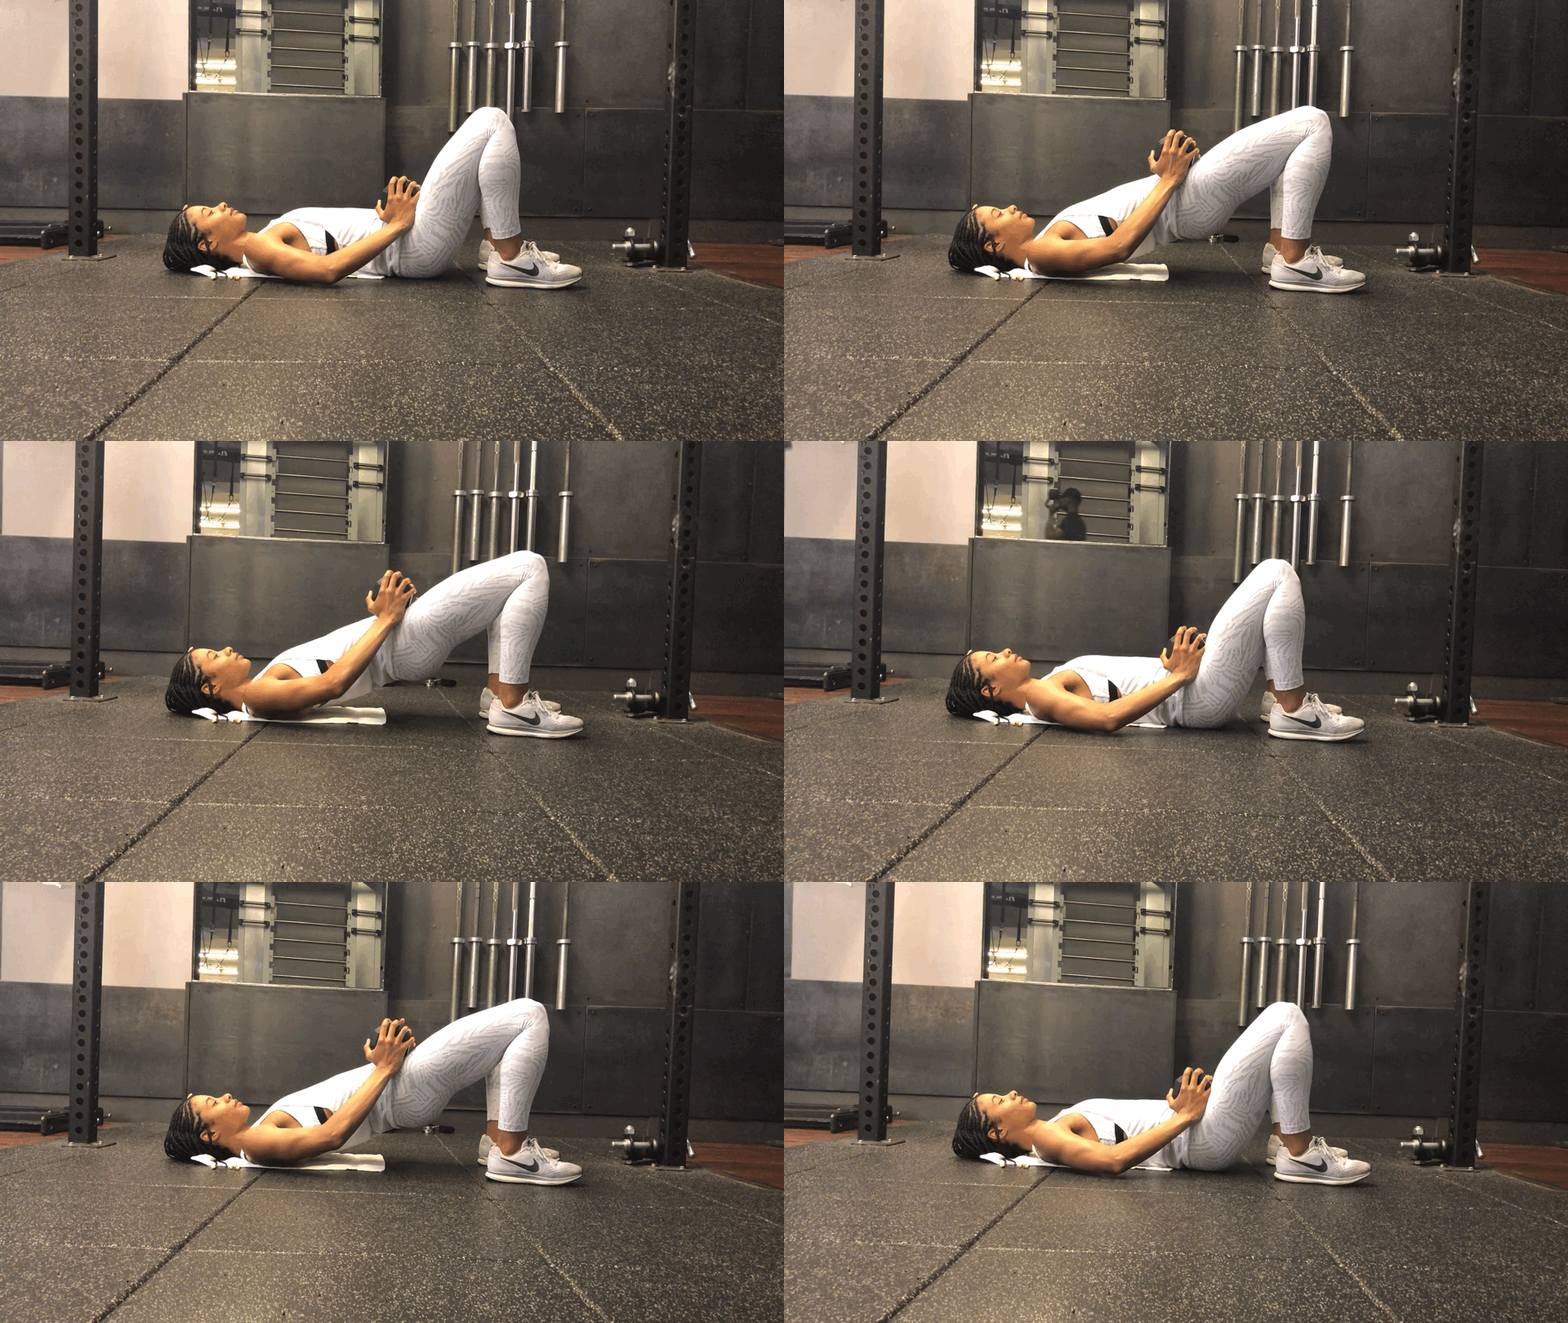
- Lie face up on a mat or soft surface with your knees bent and feet flat on the floor. Keep your feet underneath your knees, not out in front. Place the dumbbell horizontally on top of your lower abdominals (below your belly button and above your hip bones). Hold the dumbbell in place with both hands to prevent it from moving.
- Raise your hips up to the ceiling, engaging your core and squeezing your butt as you do. You should be making a diagonal line with your body, from shoulders to knees.
- Hold for three seconds. Make sure your spine doesn’t round and your hips don’t sag. Keep your abs and glute muscles engaged.
- Lower your hips to the ground with control. That’s one rep.
- Try three sets of 12 reps.
Weighted Glute Bridge Tips
If you’re unsure about your form, ask a trainer or other exercise professional for help. And if the exercise ever hurts, stop doing it.
If you find the weight to be uncomfortable resting on your stomach, try placing a folded-up yoga mat, towel, or other cushion under the weight. Or, you can always return to bodyweight glute bridges and make them harder by trying different variations, like single-leg glute bridges.
Building glute strength is beneficial for most people, but don’t limit your workouts to only butt-focused moves. If you’re strengthening your glutes but not all the other muscles in your body, it could result in muscle imbalances or injury. Instead, incorporate weighted glute bridges and other glute-strengthening exercises as part of a comprehensive workout plan.
— Additional reporting by Lauren Mazzo
Image Source: POPSUGAR Photography / Sam Kang
Product Credit: POPSUGAR dumbbells, Splits59 sports bra, Splits59 leggings, APL sneakers


